


2018 XVenture XV3 Deluxe Plus
I recently took on the project of designing and building a drawer cabinet for the back of my Subaru Outback. I made this decision because after a few years of dreaming of getting a camp trailer, I finally pulled the trigger and bought one. After Calvin, my pup, came into the picture in January, things really began getting tight inside the vehicle on our camping trips. The trailer is opening up all kinds of possibilities and freed up some space in the car.

I started by thinking about materials and what I wanted out of the box. I wanted it to be strong, spacious enough to store and organize necessities and have a space to store and secure my photography equipment. I also wanted it to look nice and somewhat match the interior of the car - I have the “Special Appearance” package, which means it has the upgraded saddle-brown leather and dark wood trim.
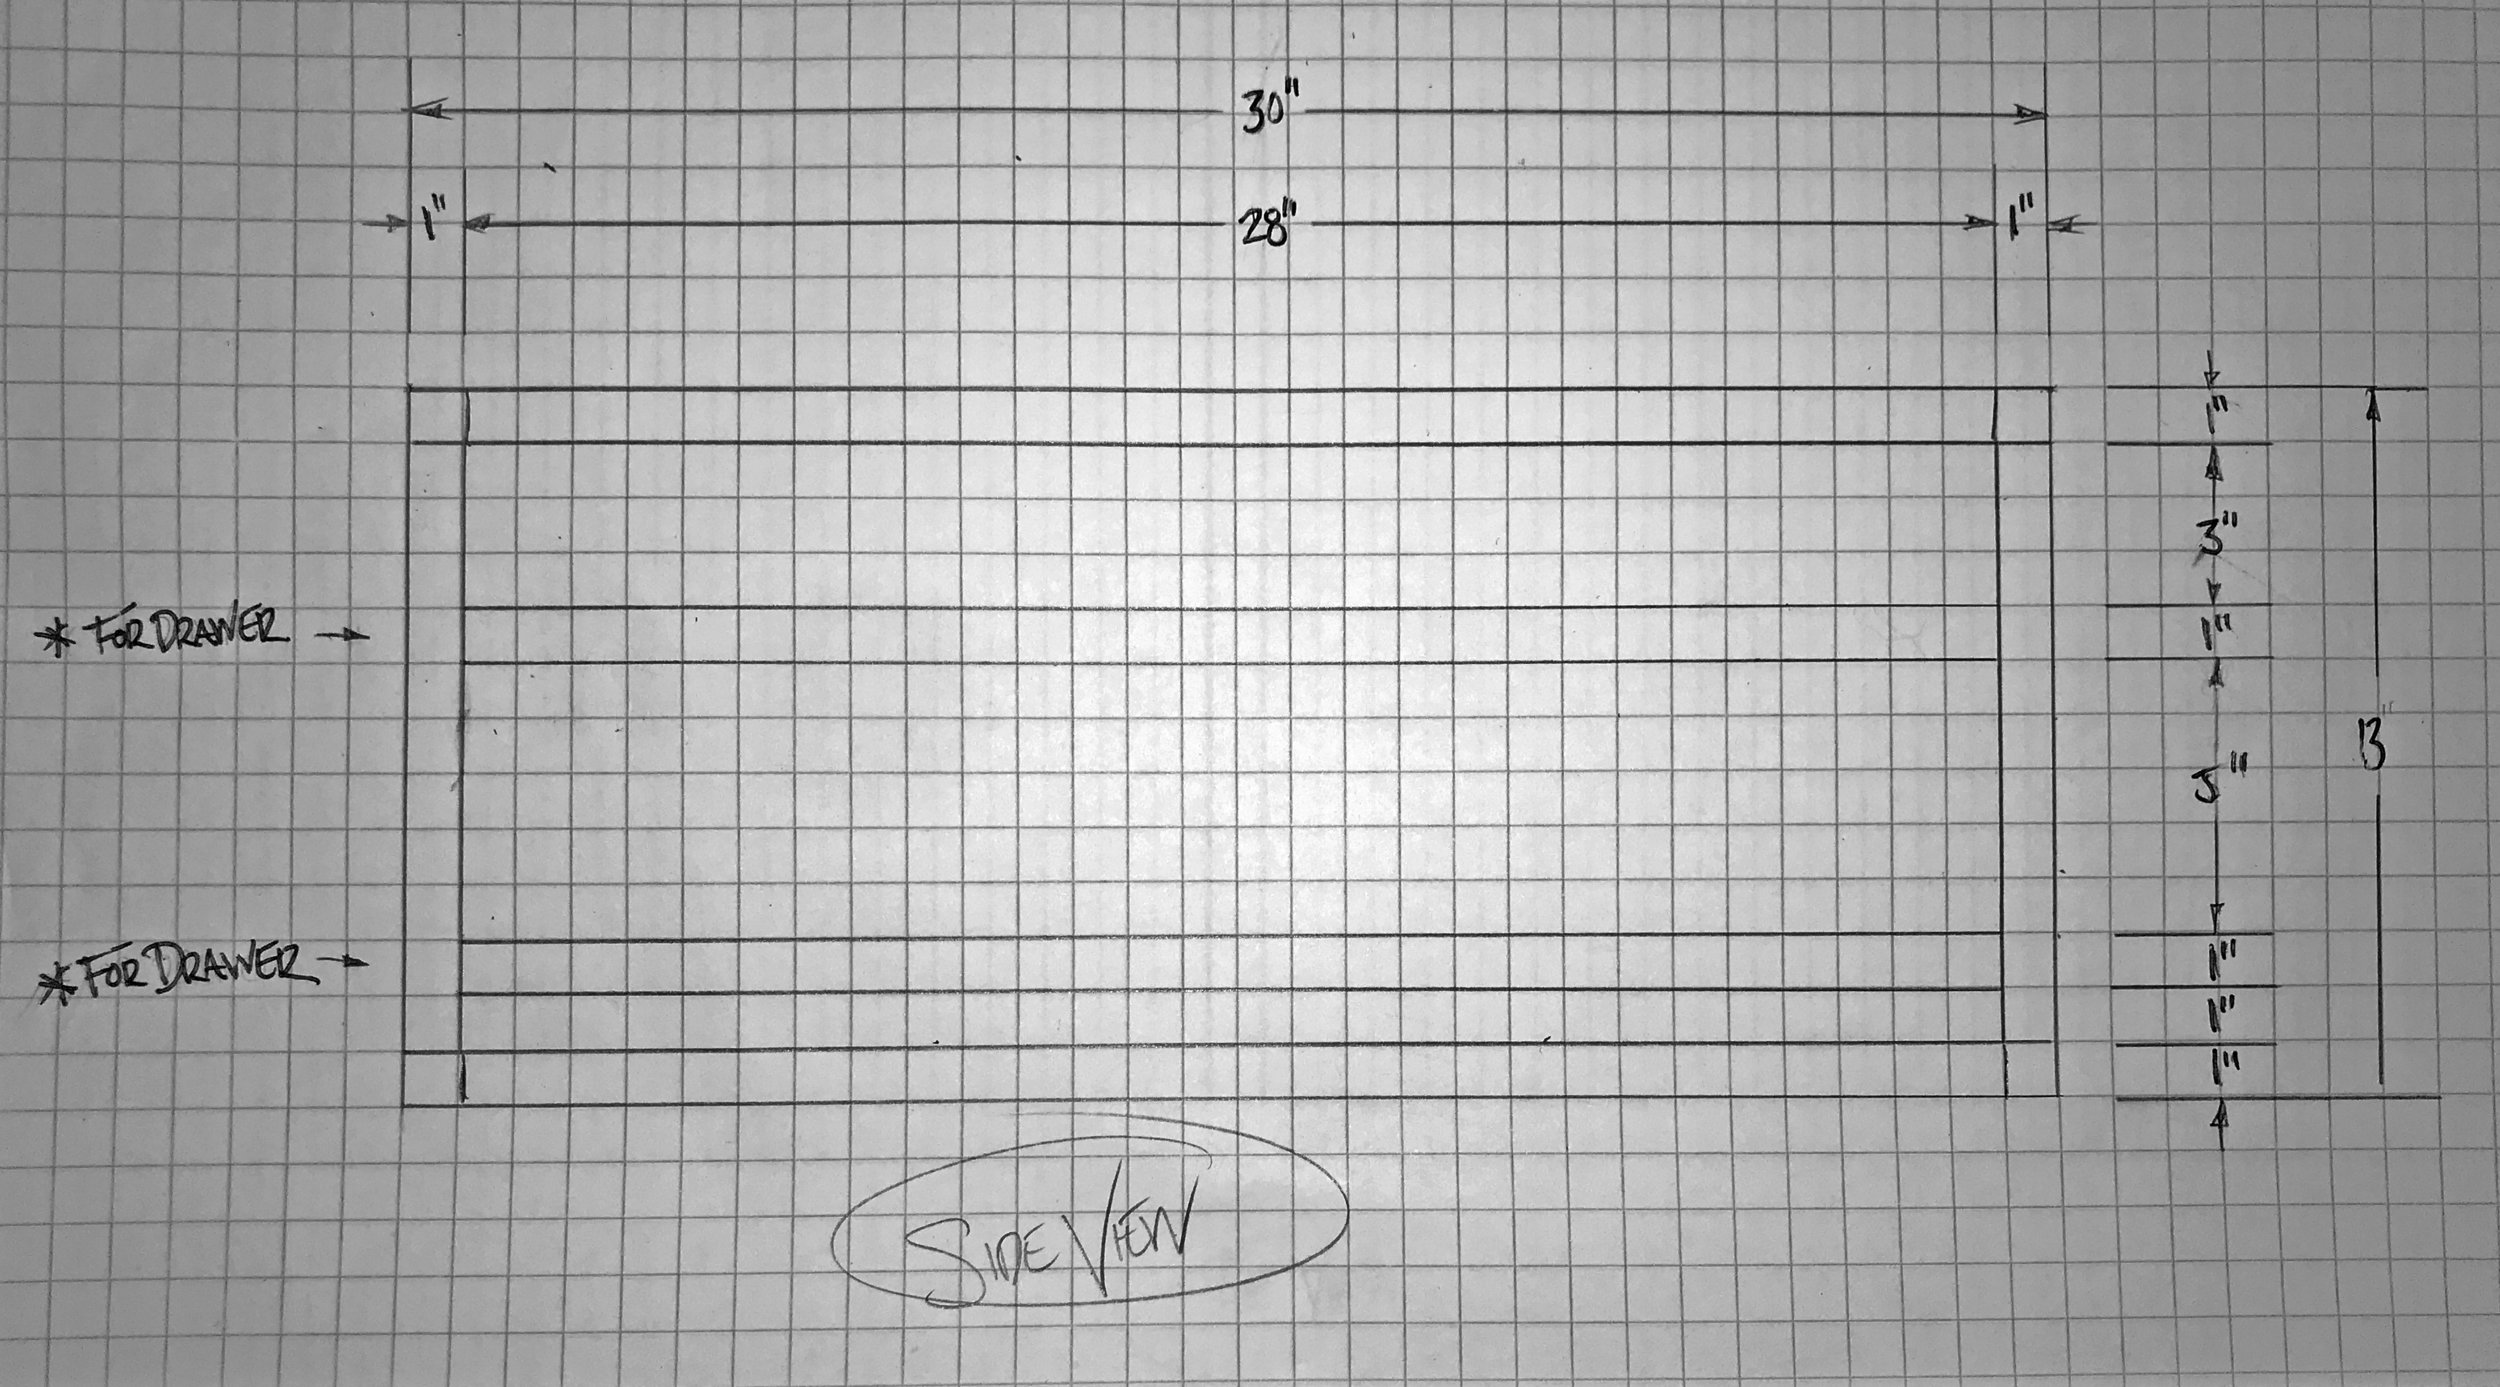
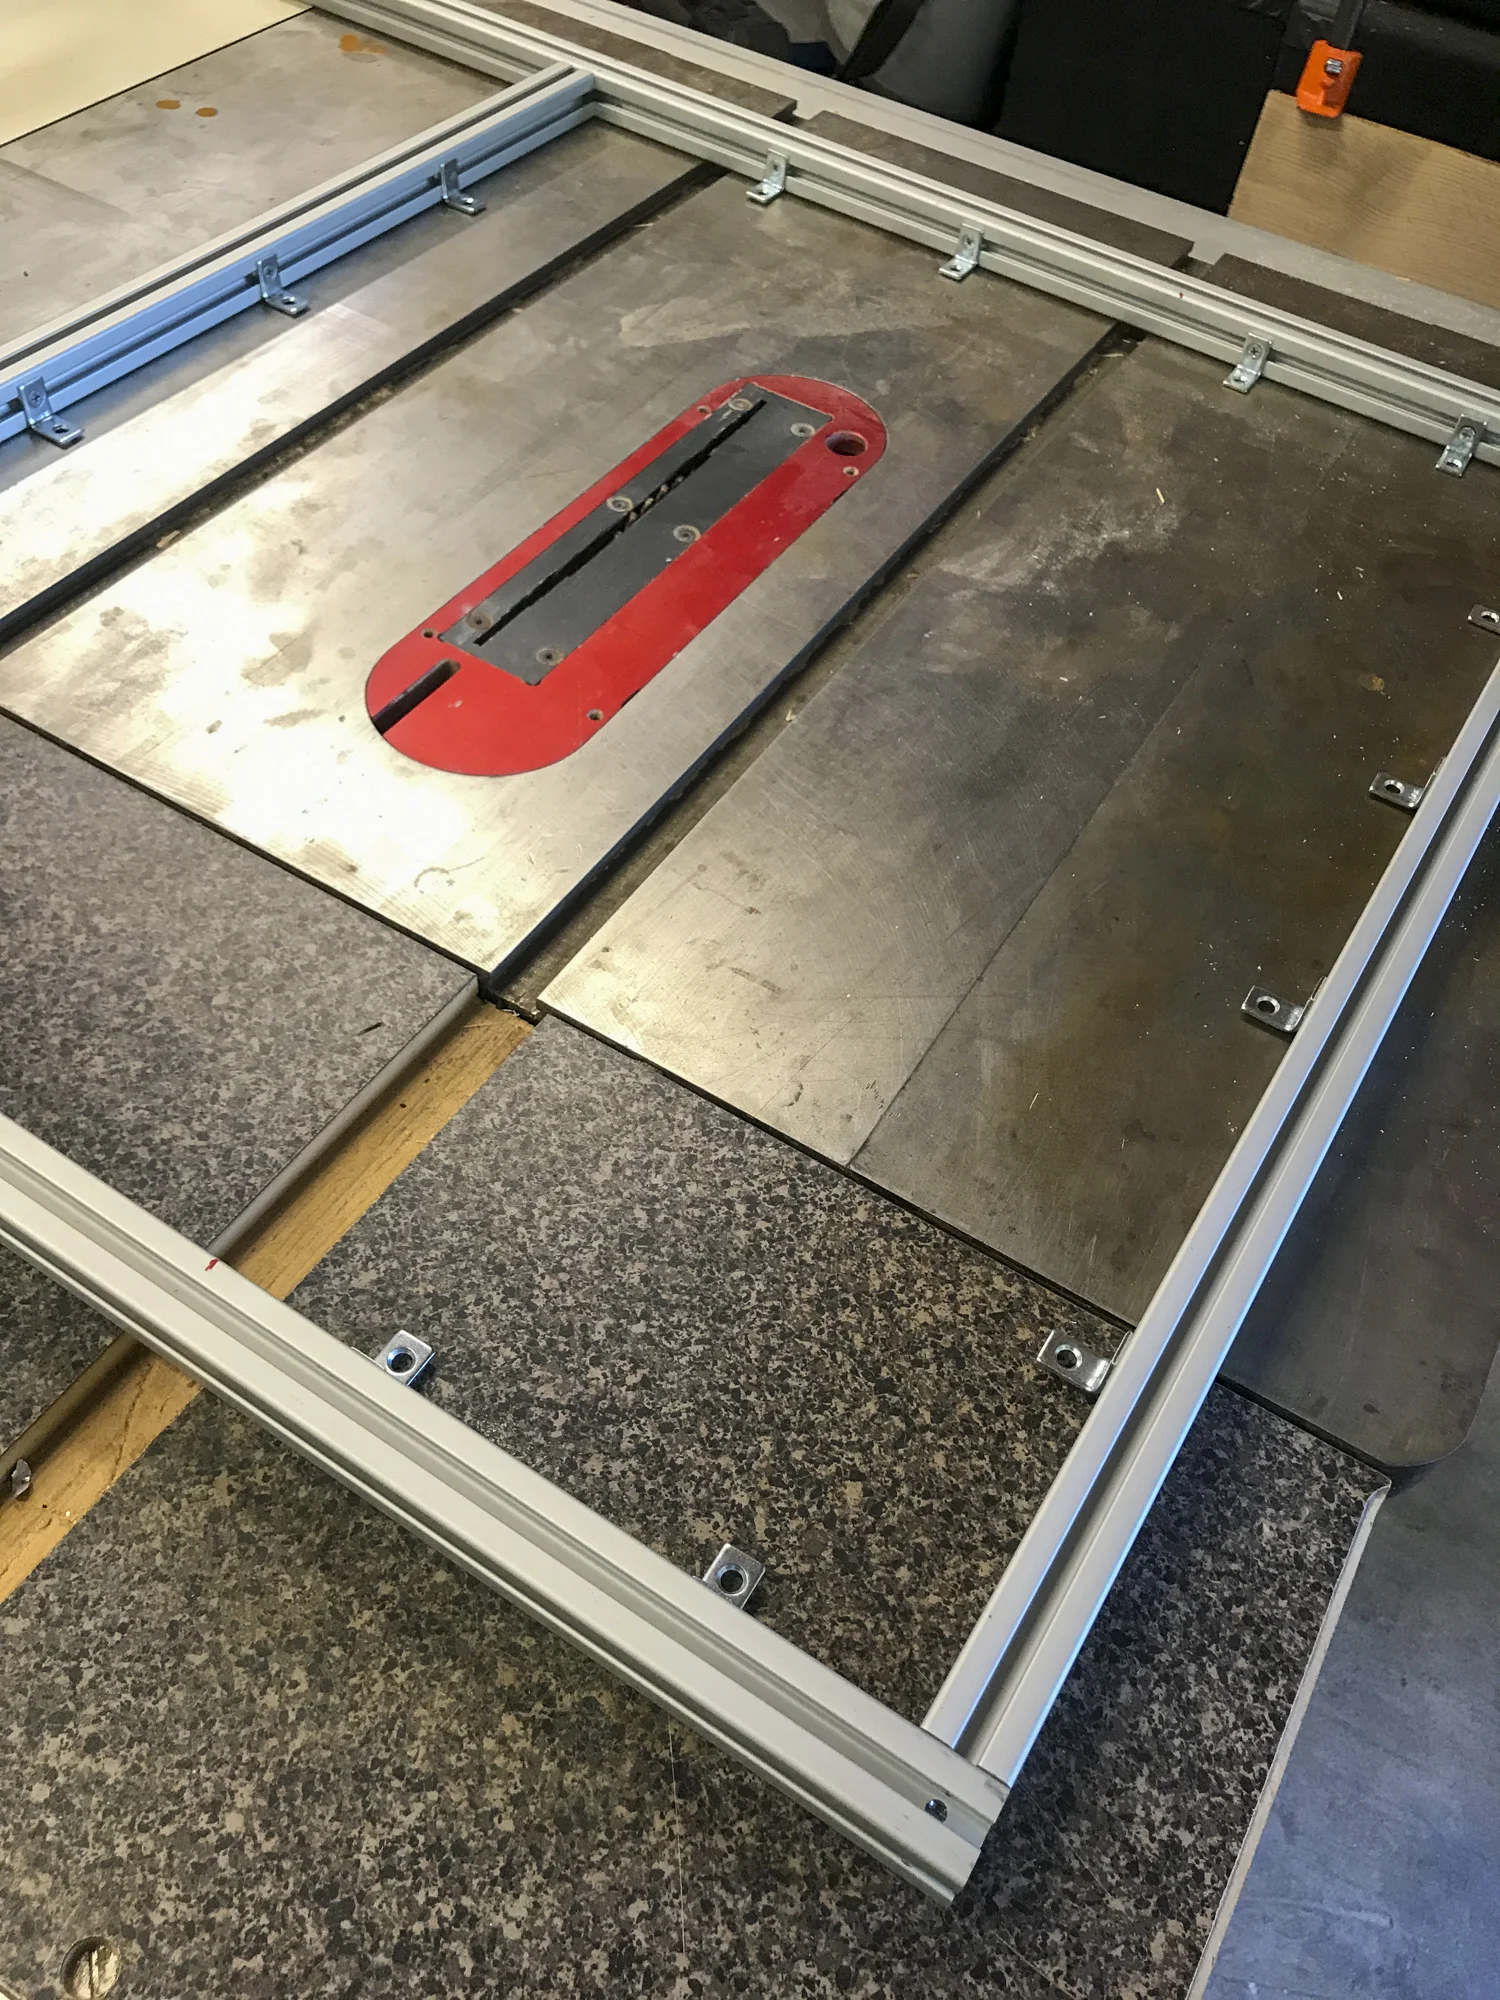
After doing some research, I opted to use 80/20 series 10 aluminum for the frame as many others have used, but wanted to try something different to make it stand apart - so I decided I would use wood in the t-slot of the frame on the sidewalls and top it with a full sheet. I put together a quick design on graph paper and sent it to the people at Teco Technology for review. I received a call from a CSR named Dave who was incredibly helpful in getting my order cut and shipped off quickly.
I ordered the drawers I wanted from a supplier on Amazon - I decided on 22” Blum Tandembox drawer profiles riding on Blumotion full extension glides with soft close.


After receiving the frame materials, I quickly built it out and mapped out exactly how I wanted the wood to fit and placed the order for quarter-sawn white oak which I chose based on it’s durability, beautiful wood grain and ability to take stain well.
My drawers showed up the following day after building the frame - Unfortunately, the supplier out of Florida took 10 days to get me the order and neglected to include the glides that I needed. I searched all over the greater Sacramento area and no one had the parts I needed, so I was forced to go with another option and build drawers from scratch.
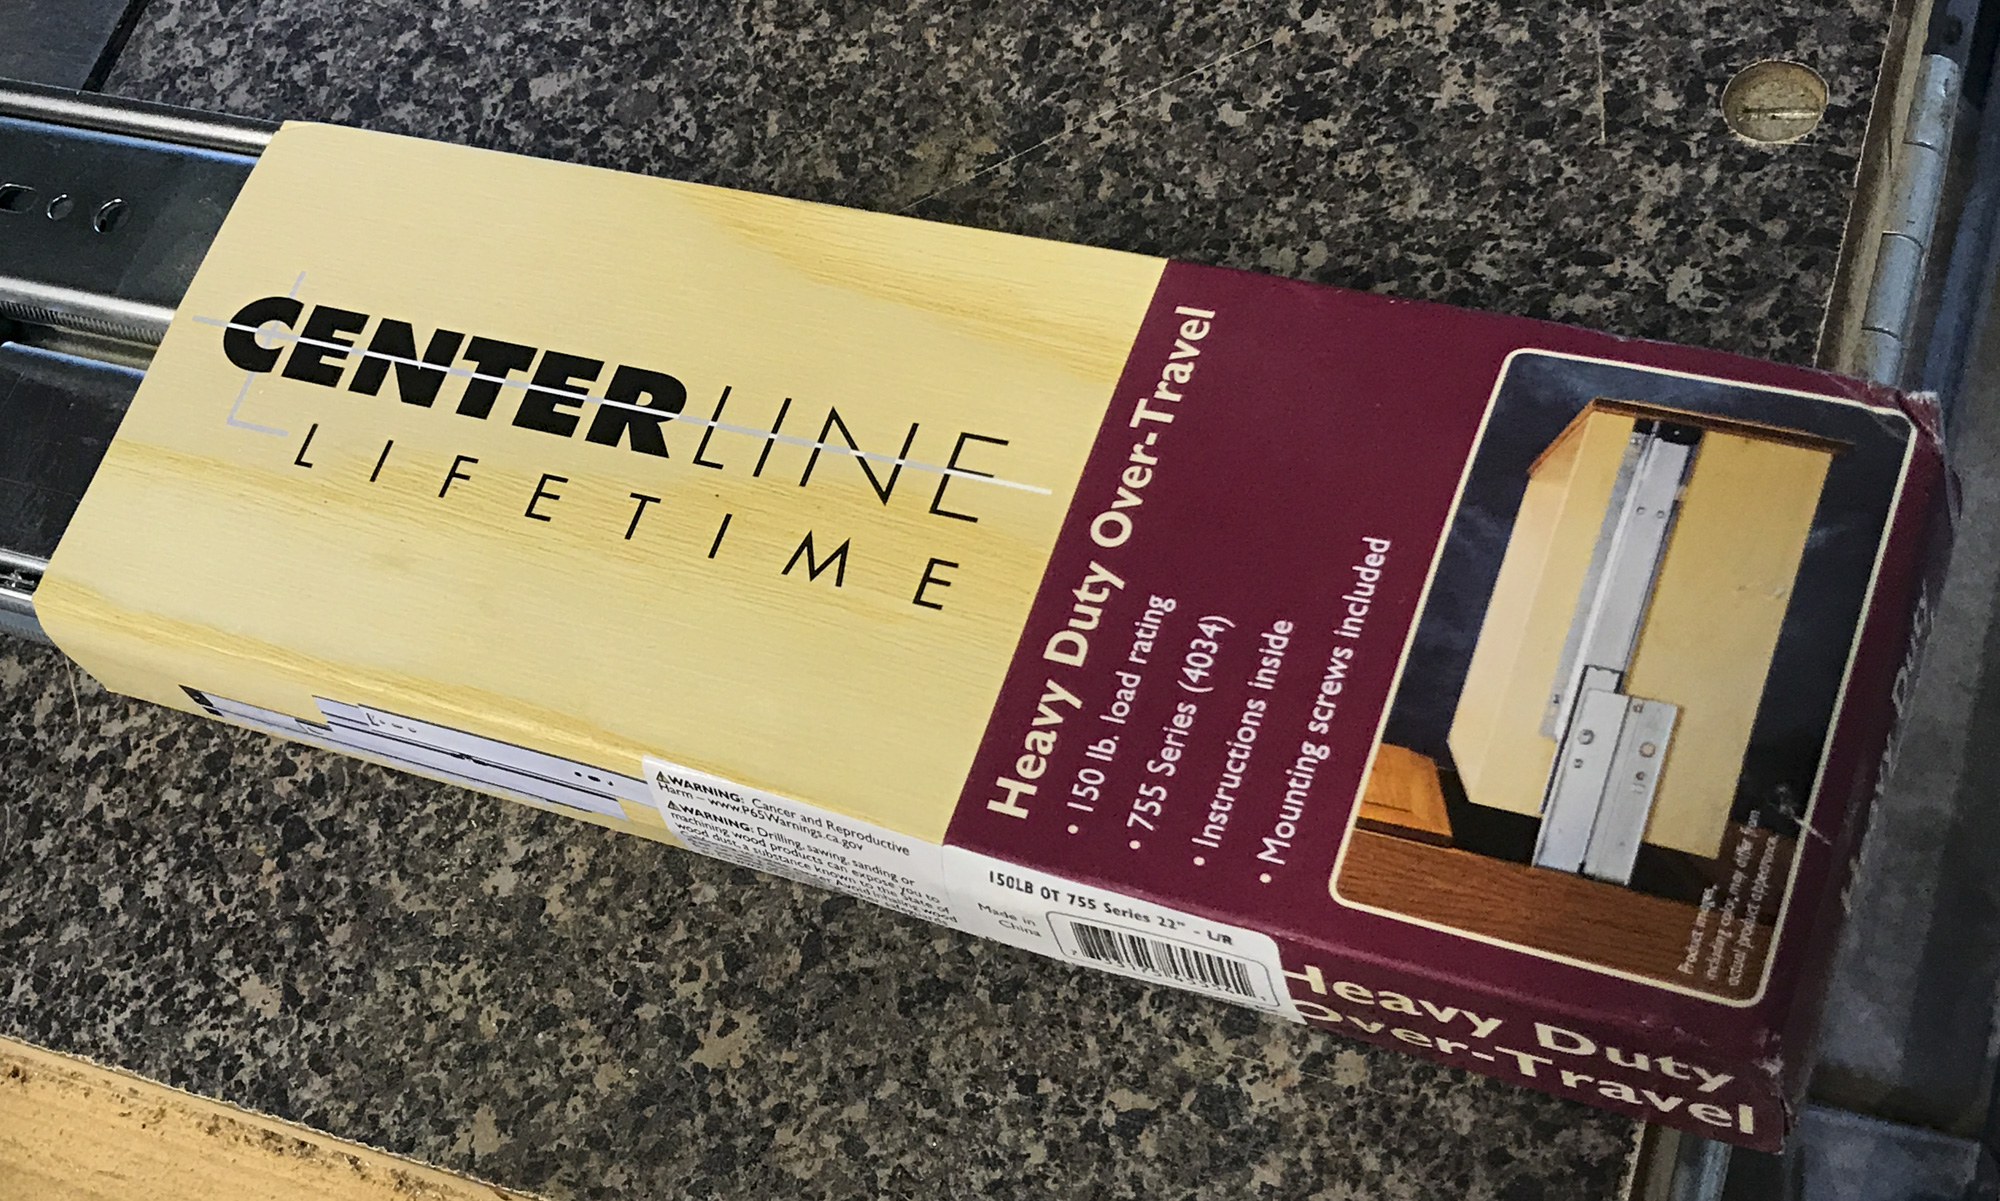

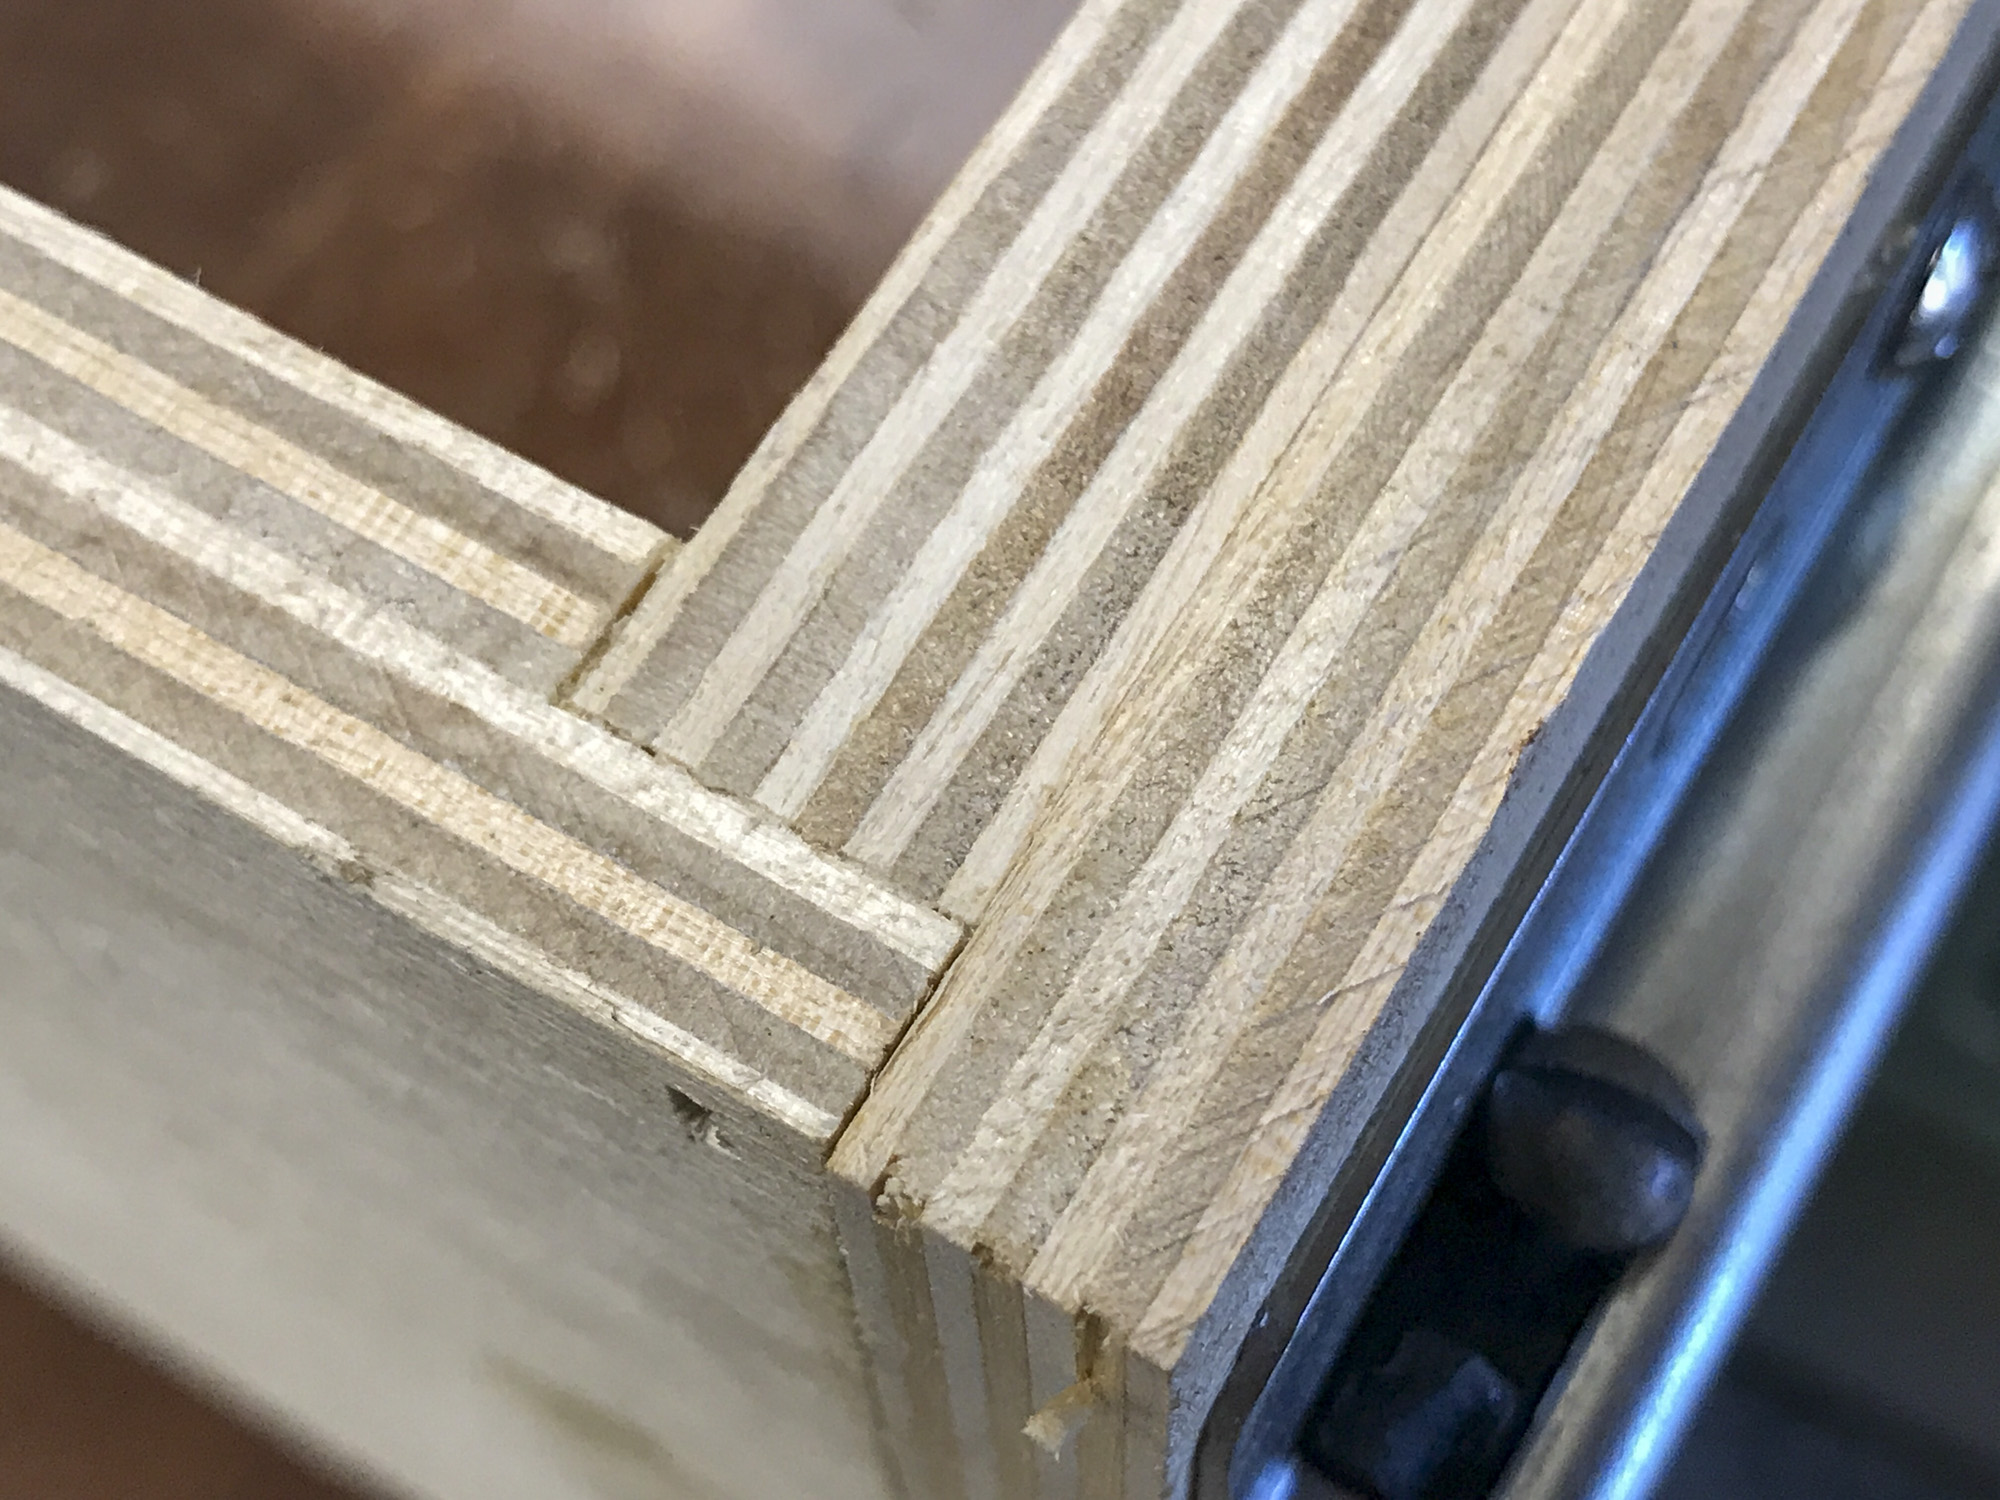
I picked up some Centerline Lifetime Heavy Duty over-travel glides (755 Series) and some 5 3/8” x 1/2” birch boards to build my drawers. I wanted more strength that a butt-joint - but instead of going all out with dove-tail joints, I opted for a rabbet joint. I had not built drawers or joined wood in a very long time, but with a little patience and a few test pieces, they went together very nicely for a relative rookie.


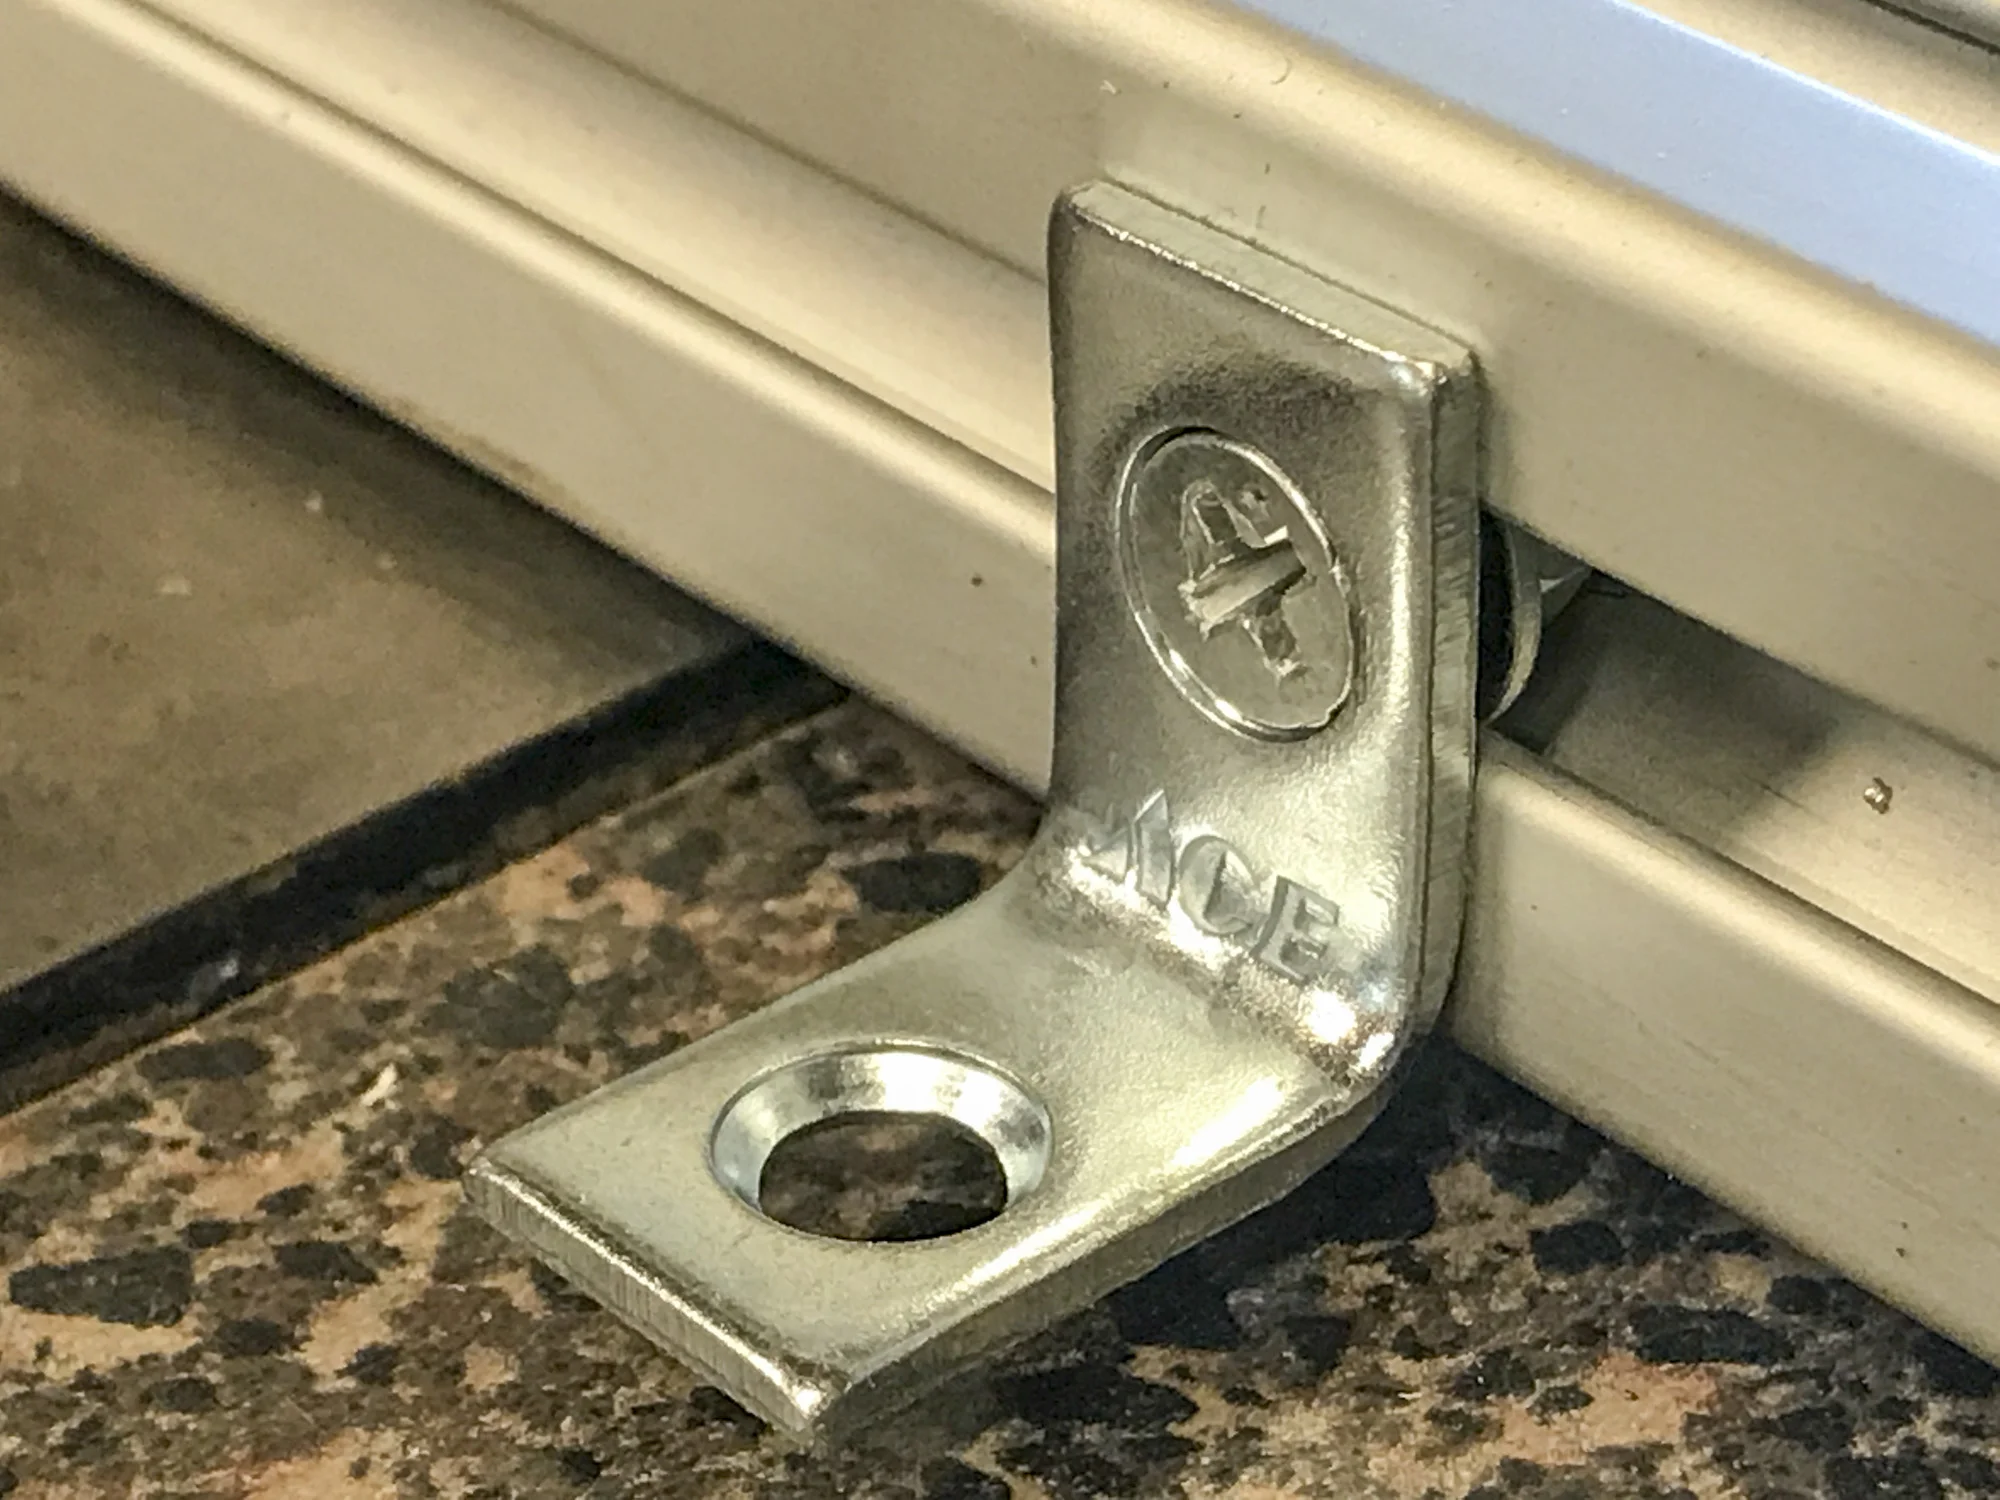
Another thing I wanted was to have access to the spare tire compartment for additional storage of supplies and tools. Since going with a larger off-road tire, the in-trunk spare tire is pretty much useless - and considering you’re not supposed to use the donut-spare on the front wheels of these CVT AWD vehicles, I pulled it out completely. I decided to use 5/8” laminated plywood under the large cubby-storage area where my camera gear will be stored, and designed it to be partially removable for access into that area. I originally designed it as a cutout, but after looking at how it would sit in the car, opted for a large removable plank for easier access. I solve the problem of how to mount it, I used 3/4” L-brackets around the perimeter of the cubby.
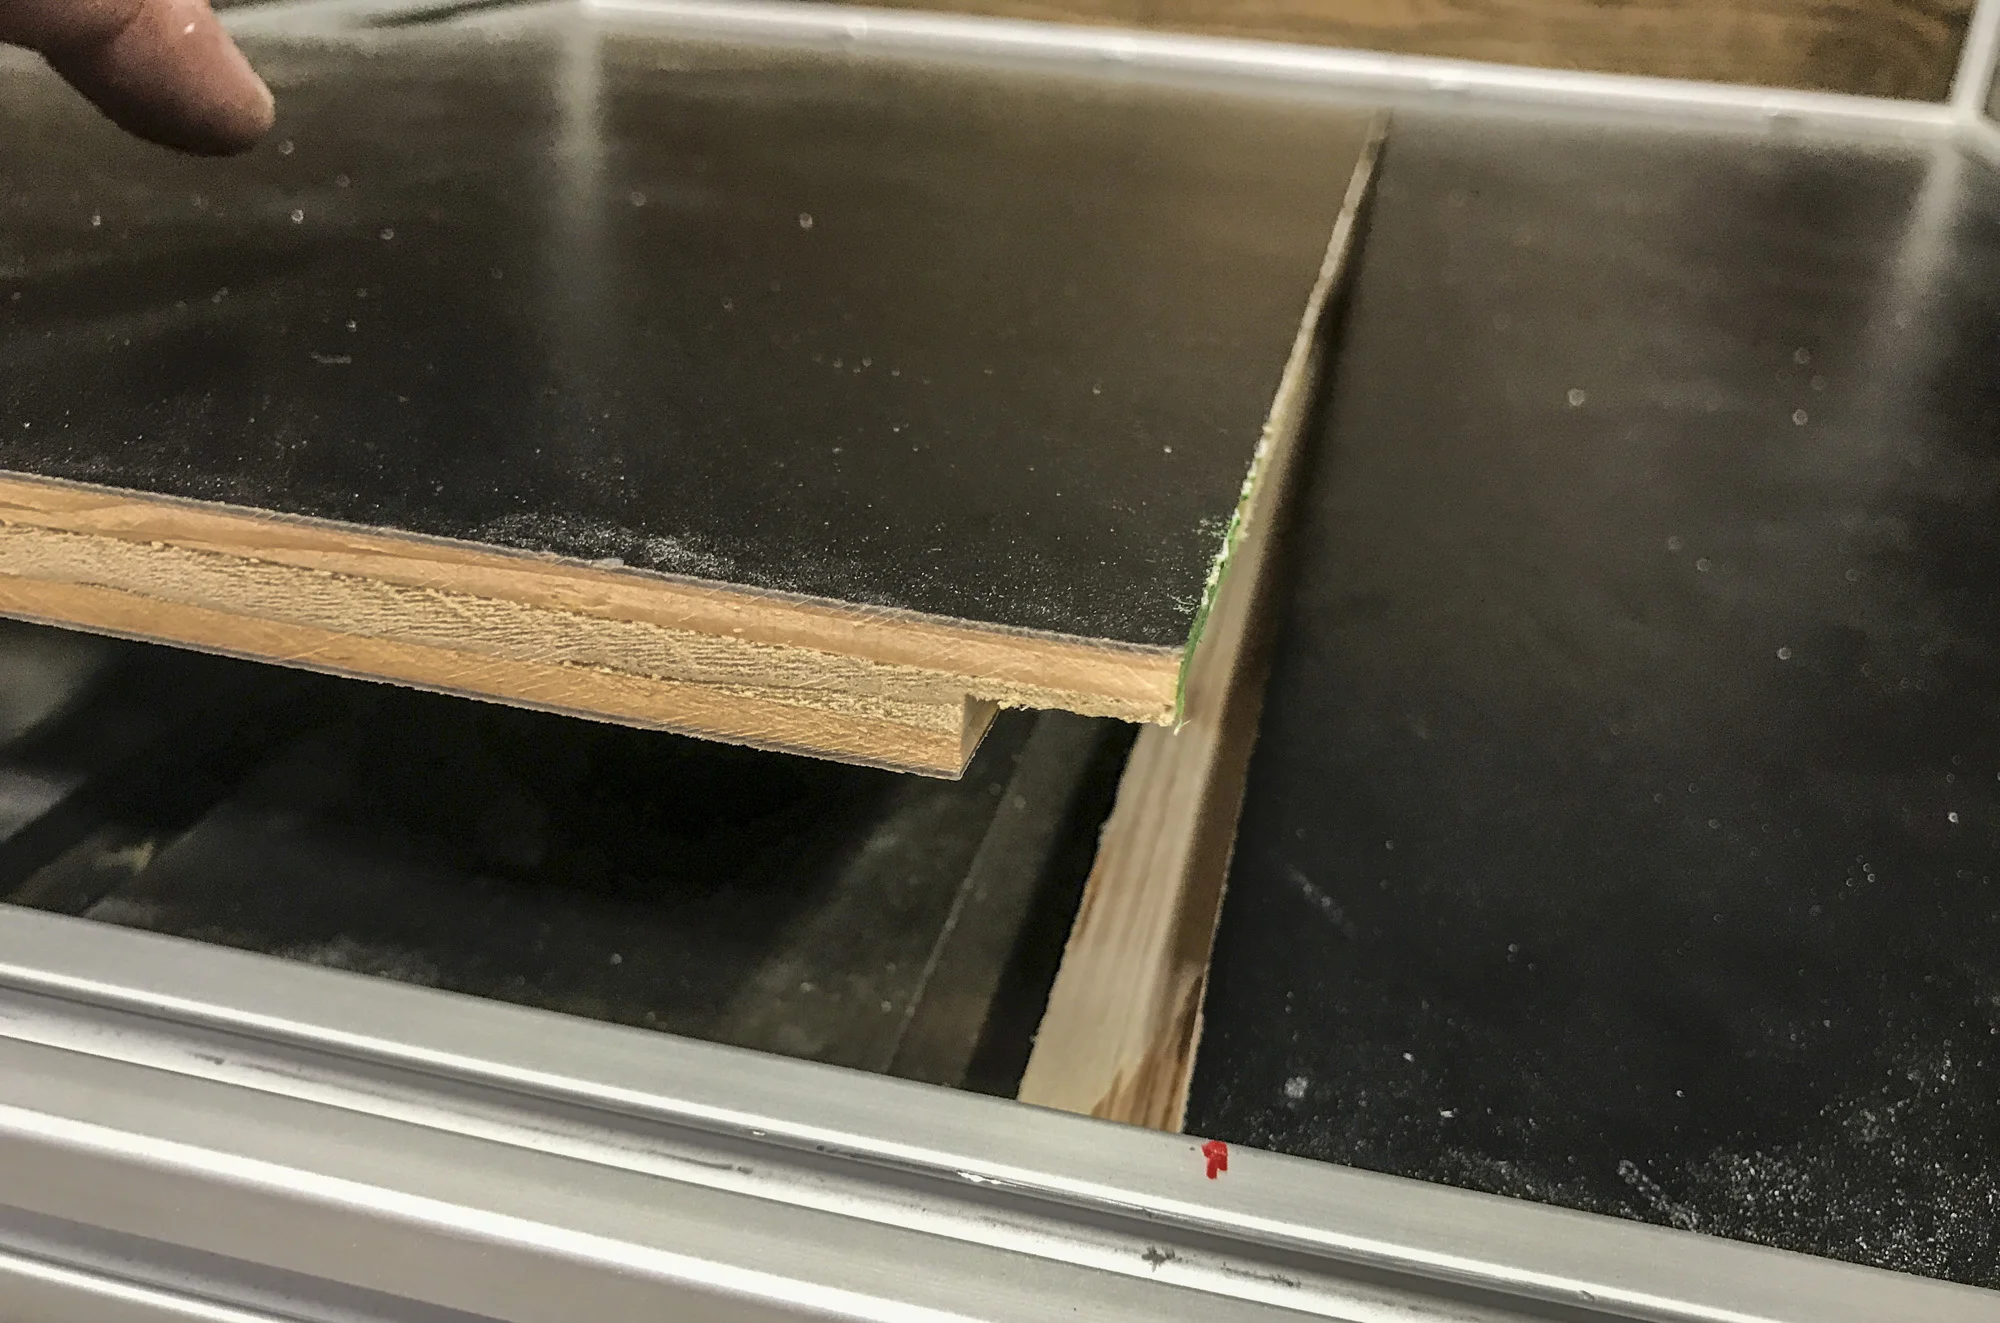
After solving this problem came the cutting fitment of the wood panels. I used 5.2mm C4 quarter-sawn white oak and had to be very precise in my cuts. The grooves of the Series 10 frame is 5/16” deep and these have to be fit very snug to reduce vibration. I gave myself about a 1/16” overage on each cut for wiggle room. I had not taken into consideration the interior mounting hardware, so I used a coping saw for the detail work to make it fit.

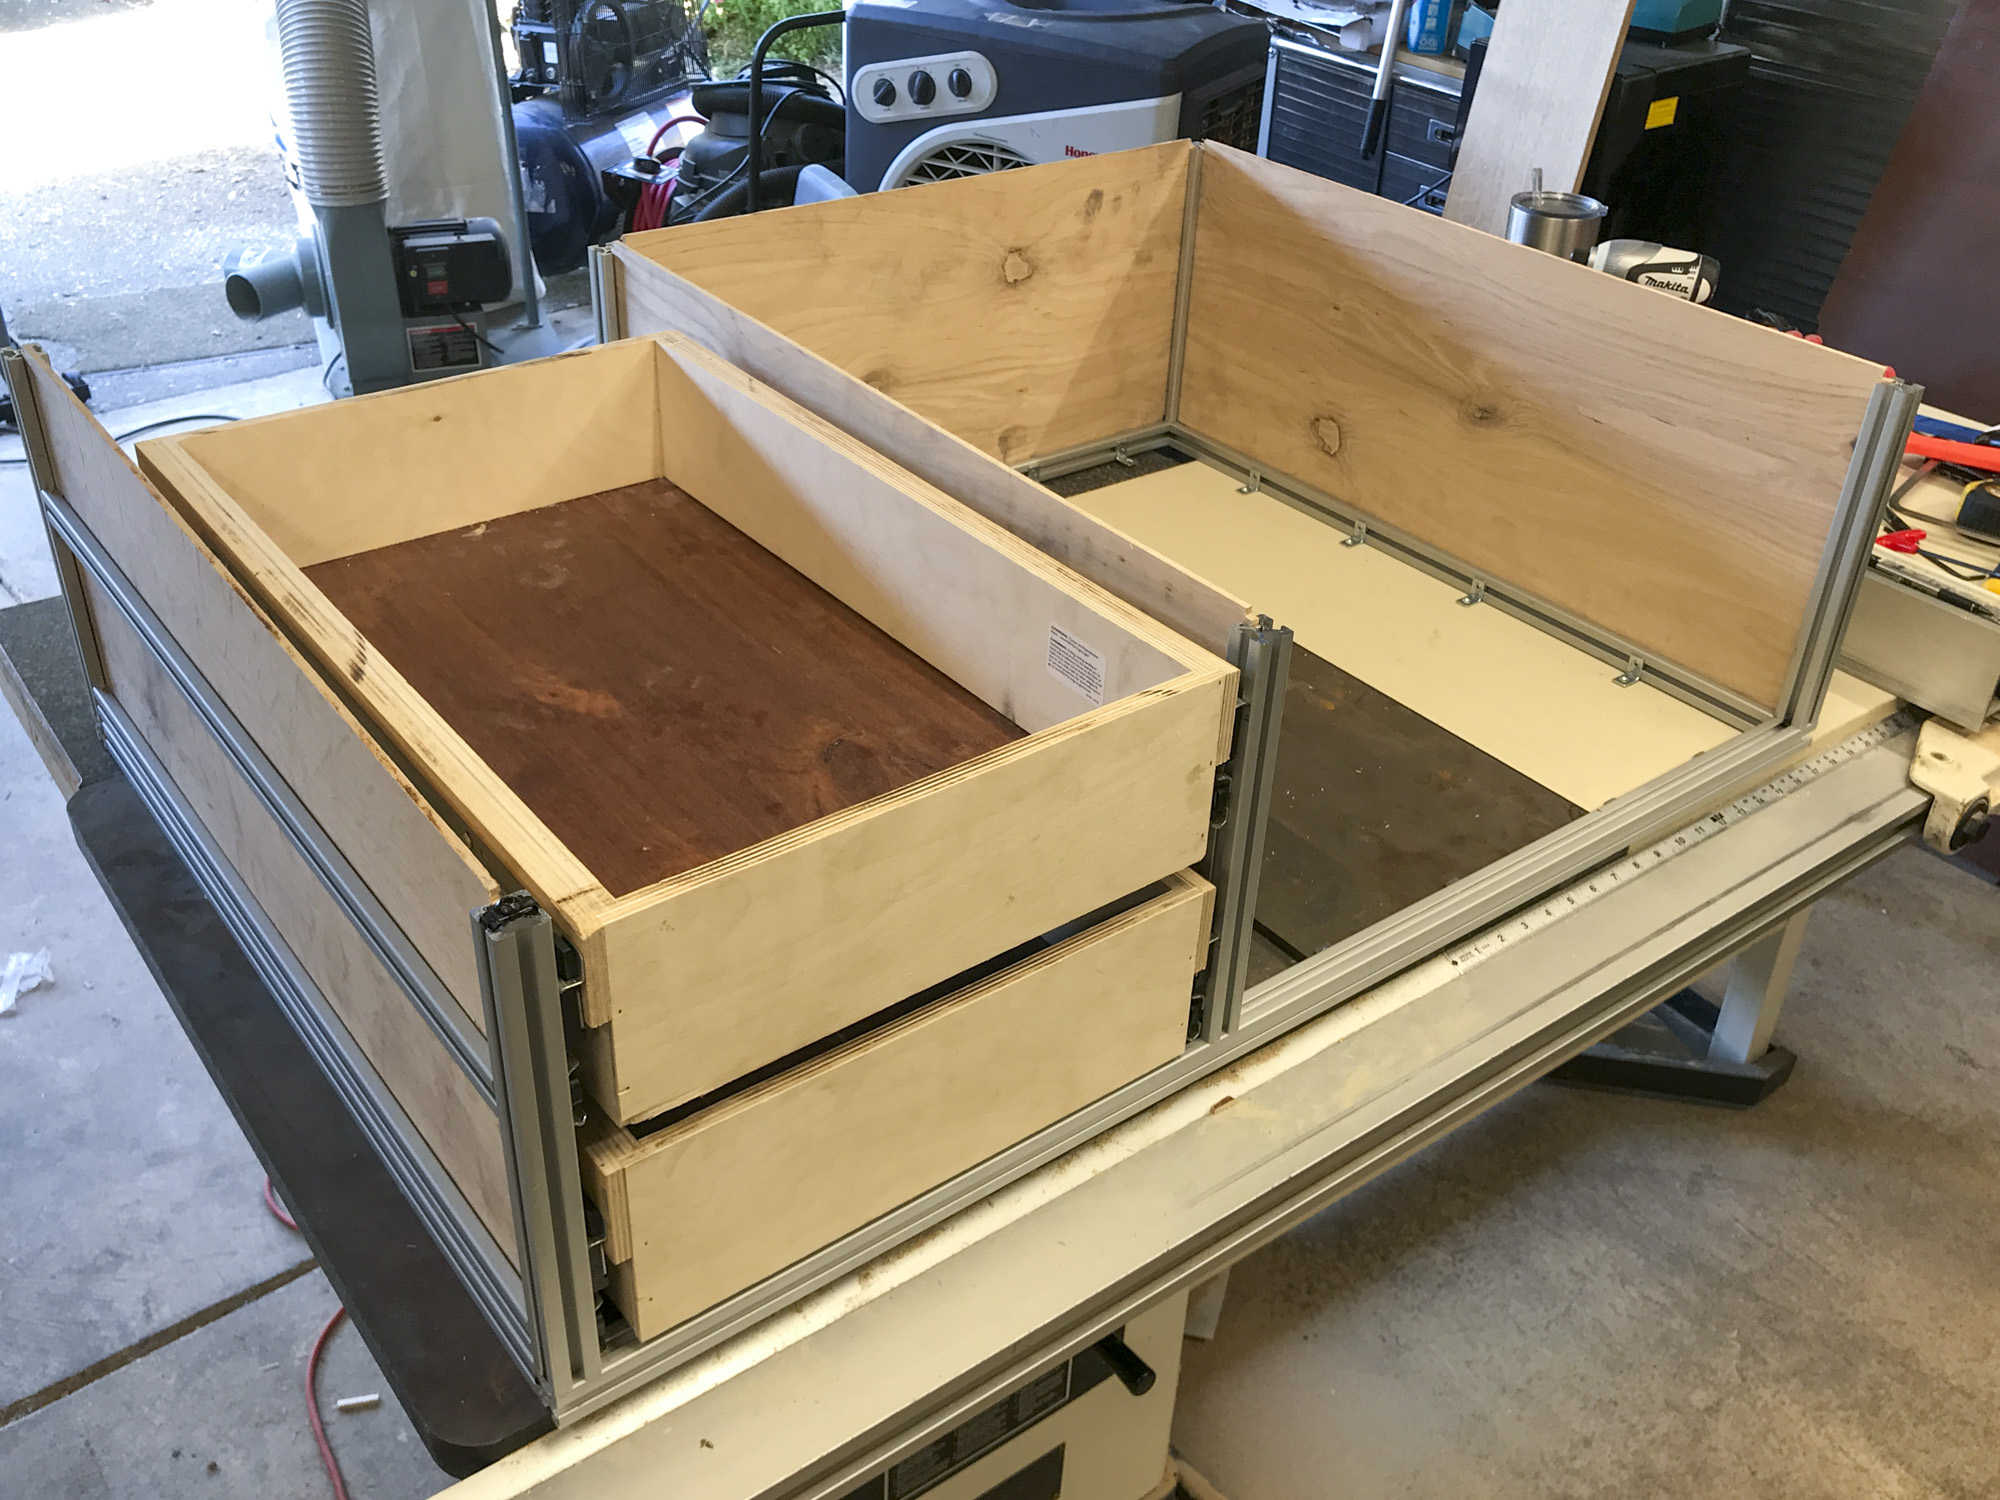

Once all the pieces were cut and properly fit, it was time for the finish work on the wood. I used Minwax pre-stain, Jacobean penetrating stain (1 to 2 coats) and Minwax Polycrylic (3 coats). I had originally planned on going with the laminated 5/8” plywood to top the box (as seen in these images), but changed my mind after seeing how the stain turned out on the white-oak - and I had enough left-over to cut a 43”x30” piece to fit.


For the drawer fronts, I had a piece of 10’ quarter-swan white oak timber 9” x 3/4”. Since I needed a 13” front for the cubby, I had to join 2 pieces to cover that area. After ensuring the edges were milled properly, Iet the wood-glue do it’s magic. Once it was set (24 hours), some sand-work left it seamless. I cut the drawers to size and used a round-over router on both sides of the drawers for a clean look and feel. Afterwards, I used the router to cut out space for the recessed drawer pulls (using a template to ensure a nice fit) and cut a hole in the cubby for a cylinder lock .


All that was left to do was stain and finish the timber and mount the hardware. I also opted to build a 4” lift underneath the box to bring it to the level of the top of the back seats which also gives more space underneath for under-the-box storage. It comes up to just underneath the rear window so it doesn’t block out any visibility. I need to work out a few kinks with box noise, but overall, I’m happy with my first build.


